25 Do’s and Dont’s to Properly Care for a Newly Pierced Earlobe

Getting a new piercing is always exciting.
Just imagine wearing those new earrings you have been eyeing since last month.
Don’t get too excited though, your aftercare needs to be taken seriously to help your new piercing heal quickly and to prevent painful infections.
Do
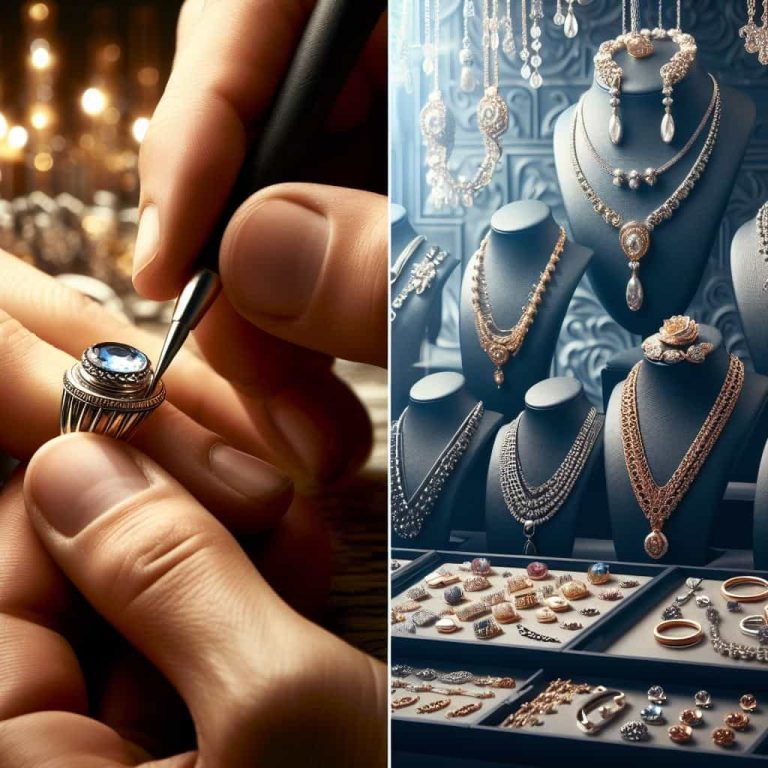
#1 FIND A LICENSED PIERCING PROFESSIONAL TO PIERCE YOUR EARS
Just because your friend has successfully pierced her own ears before, does not make her a professional.
It is important to find a reputable and licensed professional to pierce your ears.
Untrained staff and unsanitary equipment will make the whole process even more painful.
Doing it right in the beginning will ensure that your ears will heal quickly and properly.

If your ears are not professionally pierced, this could result in sensitive ears that are prone to infections in the future.
#2 WASH YOUR HANDS BEFORE TOUCHING YOUR NEWLY PIERCED EARS

It is extremely important to remember to wash your hands with soap and water every time you touch your newly pierced ears.
Unclean hands contain bacteria and germs, which can easily make its way to the pierced area.
Your newly pierced ears are especially vulnerable to infections, so make sure your hands are spotless and germ-free before you proceed to touch them.
#3 LEAVE YOUR EARRINGS IN FOR AT LEAST 4-8 WEEKS AS DIRECTED
Your starter earrings need to be left in your ear for at least 4-8 weeks, otherwise they may close up or heal improperly.
Now is not the time to change to a different pair of earrings.
Until the 4-8 weeks is over, make sure you keep wearing the initial earrings your piercing technician pierced your ears with.
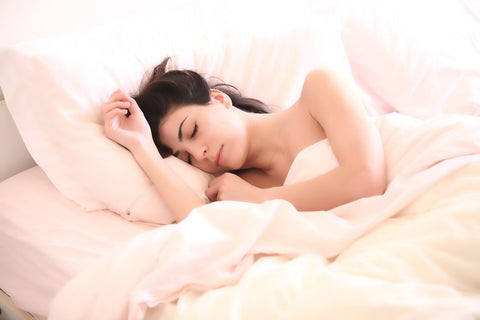
#4 LEAVE YOUR EARRINGS IN OVERNIGHT

While it is usually recommended to remove your earrings during slumber, newly pierced ears are a different story.
For newly pierced ears, you should leave your earrings in while you’re sleeping.
If you take them off during bedtime, you risk the chance of your newly pierced ears closing up.
#5 WASH YOUR EARS WITH SOLUTION, GENTLE SOAP AND WATER OR SALINE

It is important to keep your ears clean and sterile. Doing so will help your ears heal quickly and beautifully.
There are a wide range of things you can clean your ears with.
I. EAR PIERCING CLEANING SOLUTION
It is likely that your piercer may recommend an ear piercing solution. These are great for cleaning the pierced area.
Just use a Q-tip and gently, but thoroughly, dab your earlobes twice a day.
II. SALINE SOLUTION
Saline solution works just like ear piercing solution, but is much gentler on the skin and a lot more cost-effective.
It acts as a great disinfectant and is less damaging on the skin tissue compared to chemical solutions and other cleaning agents.
Here’s our two-ingredient super simple DIY recipe:
INGREDIENTS:
- 1/2 tsp salt
- 16 oz water
DIRECTIONS:
- Dissolve the salt into the water and mix well.
- Not only can your DIY saline solution be used on the skin, you can use it to clean your earrings as well.
- Soak up a cotton ball and gently dab the pierced area thoroughly. Drop your earrings into the remaining solution to give it a quick clean.
Do be careful as solutions with high-sodium content can lead to irritation.
III. GENTLE SOAP AND WATER
Using soap and water on your earlobe instead of a harsh cleaning agent like alcohol will help keep your ears moisturized.
While alcohol is an effective cleaning agent, it is also very drying.
If your ears get too dried and cracks, it can lead to more damage than good.
#6 ROTATE YOUR EARRINGS FEW TIMES A DAY
Rotating your earrings a few times a day (with clean hands) will help keep your earring holes open.
Slowly and gently twist your earrings in a circular motion, this prevents your skin tissue from fusing to your earrings and getting “stuck”.
#7 APPLY VASELINE OR MOISTURIZER IF YOU ARE USING RUBBING ALCOHOL

Rubbing alcohol is a great option to keep wounds sterile. However, it is very drying for the skin.
If you must use alcohol-based cleaning agents, you should also follow that up with vaseline or other types of moisturizers to keep your pierced area moisturized.
#8 MONITOR THE PROGRESS OF HEALING
Just as important as it is to keep your newly pierced ears clean, it is just as important to monitor the healing progress.
Watch out for any abnormalities like swelling, redness or itching. Most likely, these are not signs of an infection, but irritation.
#9 HELP YOUR PIERCING HEAL

What are your irritated ears telling you?
Do you need to put some ice on your swollen ears?
Or, are your itching ears telling you that you need to be more religious with your cleaning routine?
Whatever message your ears are trying to communicate to you, watch closely for these changes and act on it accordingly.
#10 WEAR HYPOALLERGENIC STARTER EARRINGS
Your starter earrings should be hypoallergenic.
Hypoallergenic means “below average” or ”slightly” allergenic.
Wearing earrings labeled “hypoallergenic” means that it is less likely to cause an allergic reaction since little to no potentially-irritating alloys are used to create the earring.
Some commonly-used hypoallergenic metals:
- Sterling silver
- High-karat gold
- Titanium
- Surgical Stainless Steel
#11 KEEP BEDDING CLEAN

Make sure your bedding is clean and changed frequently.
Pay close attention to your pillow since this is where your pierced ear will be in contact with during most of the night.
Lay a clean cloth on your pillow every night to make sure you have a clean surface for sleeping.
Don’t
#12 DON’T USE A PIERCING GUN
As a preventative measure, opt for a piercing needle over a piercing gun.
A piercing gun forces the piercing into your ear and adds unnecessary damage to the tissues in your ear.
On a hygiene level, plastic bits are much harder to clean and sterilize than a needle.
#13 DON’T ADD UNNECESSARY TRAUMA TO THE PIERCED AREA

Be careful with tight clothing that might snag at your piercings. Adding additional and unnecessary pressure to your ears will slow it down from healing.
Be careful when putting on and taking off clothes during the first month.
Refrain from wearing toques, tight caps, and any kind of hats that touch your ears.
#14 DON’T FORGET TO TURN YOUR EARRINGS TWICE A DAY
Make this a part of your routine.
Failing to move your earrings around your ears may cause it to get “stuck” while they are healing.
#15 DON’T TURN YOUR EARRINGS WHEN THEY ARE DRY
When you rotate your earrings, make sure your skin is wet.
The rotation of your earrings is best done while you are cleaning it.
#16 DON’T GO SWIMMING IN UNHYGIENIC POOLS OF WATER
Public bodies of water can lead to the transfer of germs to your healing ears, which may result in an infection.
During this time, stay away from pools, lakes, rivers, etc.
Showers are also preferred over baths. If you must take a bath, try not to submerge your ears underwater. Clean your bathtub thoroughly before each use.
#17 DON’T REMOVE YOUR PIERCINGS PREMATURELY
Removing your piercings prematurely before the 4-8 week mark can cause your piercing to close up.
When this happens, you will need to start over from the beginning again.
#18 DON’T LEAVE YOUR EARRINGS OUT FOR TOO LONG
It’s a good idea to constantly wear a pair of earrings throughout the year, whether they are your starter earrings or another pair.
If you must take off your earrings, refrain from going without them for a day.
#19 DON’T WEAR CHEAP EARRINGS
Most cheap costume jewelry contain cheaper metal alloys that can easily cause reactions.
It is important to be careful in selecting the metals that were used to create the earring. We recommend choosing a hypoallergenic earring as it is less likely to cause an allergic reaction.
#20 DON’T WIPE THE PIERCING, DAB AT IT

When cleaning your earlobes, dry with a clean towel by dabbing gently at it.
Wiping it can damage the tissue while it is healing.
#21 DON’T LIE OR SLEEP ON YOUR PIERCED AREA FOR TOO LONG
While it is difficult to control while you’re asleep, try not to sleep on your pierced ear for an extended amount of time.
Try laying out some pillows around your head, it’ll keep you from sleeping on one side for too long.
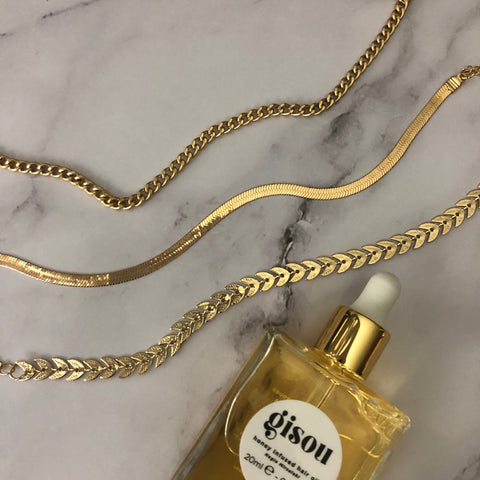
#22 DON’T GET PRODUCT IN YOUR PIERCING
Avoid irritants like hair products and creams from getting into your earlobes.
You want to keep the pierced area clean and bacteria-free to help it heal properly.
#23 DON’T OVERCLEAN
Over cleaning is another surefire way to irritate your earlobes.
Cleaning the pierced area twice a day will keep the wound hygienic and germ-free.
#24 DON’T CLASP EARRINGS TOO TIGHTLY
Make sure you leave some room for your piercing to breathe.
A backing that is clasped too tightly will catch debris and hair follicles, which can give rise to infections.
#25 DON’T PANIC IF YOUR PIERCING IS BOTHERING YOU

If your piercing is bothering you, talk to your piercer or a doctor.
As an experienced professional, your piercer or doctor are the only one with accurate information.
Don’t ask friends and family with personal experience as piercings affect everyone differently.
You’ve done the time and taken good care of your healing earlobe.
Take a look at our affordable high quality jewelry pieces to add to your newly growing jewelry collection.